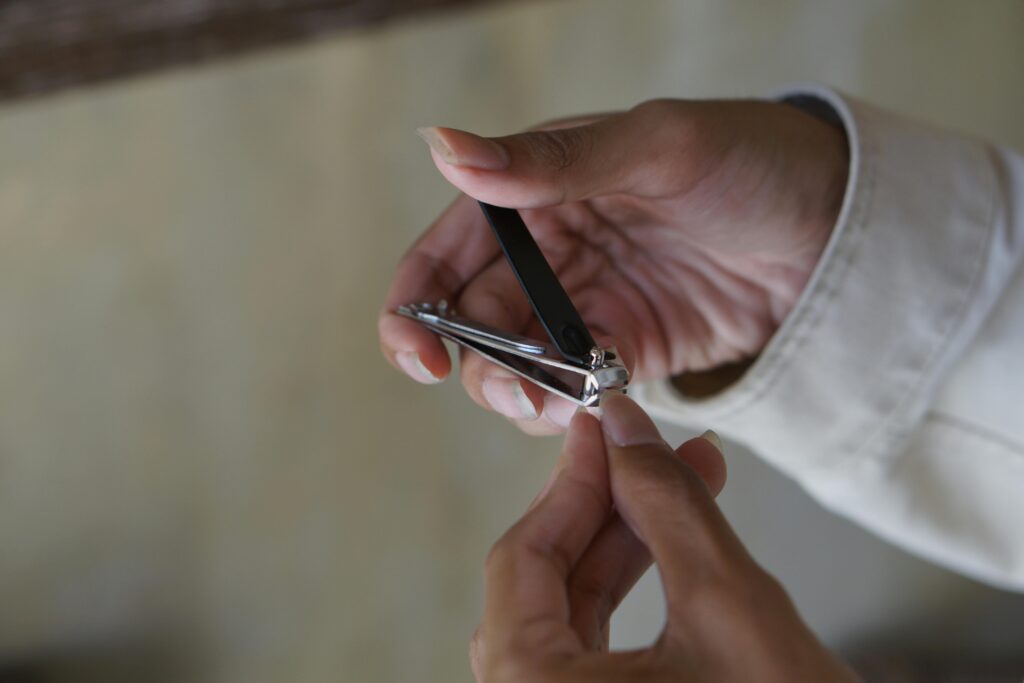
Ever tried clipping your nails, only for the clippers to jam halfway through? Yeah, we’ve all been there. That moment of frustration isn’t just bad luck—it’s a sign that your nail clippers need some TLC. But here’s the shocking truth: most people never clean their nail clippers at all! And trust me, I learned this the hard way when mine rusted after one too many ignored cleanings.
In this guide, we’ll dive deep into everything you need to know about clipper cleaning. From why it’s essential for nail care and hygiene to step-by-step instructions on how to do it properly, you’ll walk away with actionable tips, expert advice, and even a few laughs along the way. Ready? Let’s scrub those scissors clean!
Table of Contents
- Why Clean Your Nail Clippers? (You Won’t Believe #3)
- How to Clean Nail Clippers Like a Pro
- Best Practices for Clipper Maintenance
- Real-Life Stories: When Dirty Clippers Went Rogue
- Frequently Asked Questions About Clipper Cleaning
Key Takeaways
- Nail clippers collect bacteria, debris, and oils from regular use.
- Cleaning them regularly prevents rust, infections, and dull blades.
- The right tools (like brushes and alcohol) make clipper cleaning quick and easy.
- Proper storage doubles the lifespan of your nail clippers.
Why Clean Your Nail Clippers? (You Won’t Believe #3)
Here’s the cold, harsh reality: every time you use nail clippers without cleaning them, you’re basically inviting germs to party on your fingertips. Ew.
Let me tell you a story. A few years ago, I borrowed my sister’s nail clippers—big mistake. Turns out, she hadn’t cleaned them in months. Not long after, I developed an irritating red rash around my cuticles. It took weeks of antibacterial ointment to fix the mess. Lesson learned: dirty clippers = disaster waiting to happen.
But wait—it gets worse. Here are three reasons clipper cleaning should never be skipped:
- Bacteria Buildup: Every snip leaves behind tiny bits of skin, nail, and grime. Over time, these remnants become breeding grounds for harmful bacteria.
- Dull Blades: Debris stuck between the blades dulls them faster, making each trim less effective.
- Rust Alert: Moisture from your hands (or spilled hand cream) can cause rust if not dried properly. Rusty clippers = damaged nails.
How to Clean Nail Clippers Like a Pro
Optimist You: “This sounds simple enough!”
Grumpy Me: “Ugh, fine—but don’t blame me if you forget to dry them afterward.”
Follow these steps to keep your nail clippers sparkling clean:
Step 1: Gather Supplies
- Small brush (an old toothbrush works wonders).
- Rubbing alcohol or hydrogen peroxide.
- A soft cloth or paper towel.
- An optional bowl of warm soapy water.
Step 2: Remove Visible Debris
Use the small brush to gently scrub away any visible nail fragments or dirt trapped between the blades. Be thorough but careful—don’t damage the cutting edges.
Step 3: Disinfect the Blades
Dip the blades into rubbing alcohol or peroxide for 5-10 minutes. This kills bacteria and removes oil buildup. Alternatively, soak the entire tool in warm soapy water if it’s stainless steel.
Step 4: Dry Thoroughly
Pat dry with a soft cloth, then let air-dry completely before storing. Moisture is the enemy of sharpness!
Best Practices for Clipper Maintenance
Tip #1: Store Them Separately
Don’t toss your clippers into a cluttered makeup bag. Instead, store them in a designated pouch or case to prevent damage and contamination.
Tip #2: Sharpen Regularly
No amount of cleaning saves dull blades forever. Invest in a sharpening stone or replace worn-out clippers every 6-12 months.
Tip #3: Avoid Terrible Mistakes Like This One:
“I once washed my clippers in the dishwasher,” says no one who values their tools. Seriously, don’t try this “hack” unless you want warped handles and ruined blades.
Real-Life Stories: When Dirty Clippers Went Rogue
Rant Time: Let’s talk about salon visits gone wrong. Have you ever seen someone dip their nasty tools into a questionable “sanitizing” jar? UGH. Spoiler alert: those jars rarely work as advertised. Always ask for sterilized tools—or bring your own. Trust me, your nails will thank you.
Case Study: Sarah, a frequent traveler, shared her horror story of contracting a fungal infection from poorly maintained clippers during a pedicure session abroad. Moral of the story? Carry your own kit—and keep it squeaky clean!
Frequently Asked Questions About Clipper Cleaning
Q1: How often should I clean my nail clippers?
Clean them after every few uses or at least weekly if used frequently.
Q2: Can I use vinegar instead of alcohol?
Vinegar has mild antibacterial properties, but alcohol is more effective. Stick with the latter for proper disinfection.
Q3: What happens if I skip cleaning entirely?
Prepare for dull blades, rust, and potential infections. Need I say more?
Conclusion
Cleaning your nail clippers may seem like a chore, but it’s one of the simplest ways to ensure healthy, happy nails—and avoid gross mishaps. With these tips, you’re equipped to master the art of clipper cleaning.
To recap:
- Understand why cleaning matters (spoiler: bacteria).
- Follow our foolproof cleaning process.
- Avoid rookie mistakes like dishwashing your tools.
Now go forth and conquer that cluttered drawer of yours. Oh, and remember:
Like flipping through a flip phone,
Clipper cleaning keeps things sharp.
Daily care? Worth the drop.