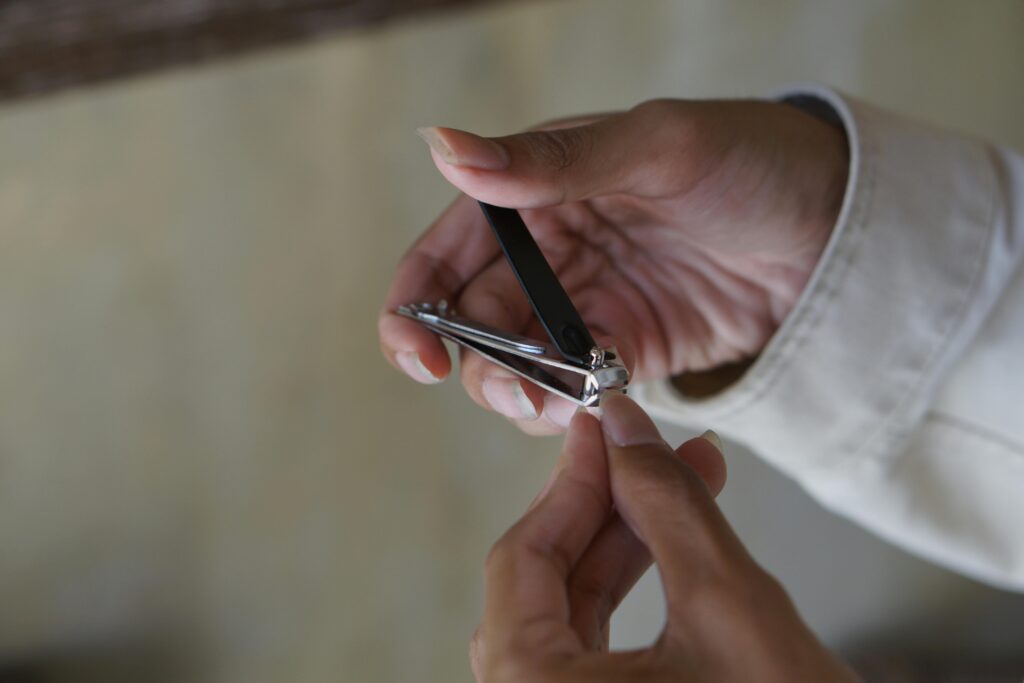
Ever wondered why your nails feel irritated after cutting them? Spoiler: It’s probably not just about technique—it might be time to talk clipper hygiene.
Nail care is more than filing and polishing; it starts with the basics, like using clean tools. This post dives deep into everything “Clipper Hygiene”—from why cleaning your clippers matters (yes, they harbor germs!) to how you can keep yours in tip-top shape for flawless manicures every time. By the end of this guide, you’ll have actionable steps, tips, and even stories that prove no one escapes dirty clippers drama.
Table of Contents
- Key Takeaways
- Why Clipper Hygiene Matters More Than You Think
- How to Master Your Clipper Cleaning Routine
- Top Tips for Maintaining Clipper Hygiene
- Real-Life Battles Against Dirty Clippers
- FAQs About Clipper Hygiene
Key Takeaways
- Uncleaned nail clippers harbor bacteria, causing infections or irritation.
- Cleaning your clippers regularly prevents cross-contamination.
- A simple brush-and-sanitize routine keeps your tools sharp and safe.
- Regular maintenance extends the life of your nail clippers.
- Investing in quality clippers reduces long-term hassles.
Why Clipper Hygiene Matters More Than You Think
“What’s the worst thing that could happen?” I thought, brushing off my mom’s advice to disinfect my clippers. Then came the redness, itching, and an embarrassing trip to the dermatologist—all because I treated my trusty $3 nail tool like its job was done after each use.
Turns out, microorganisms love nesting in the nitty-gritty crannies of your clipper blades. Bacteria, fungi, and other nasties hitch rides from person to person—or worse, linger silently between uses if you don’t practice proper clipper hygiene. Not only can unclean clippers irritate skin, but they also dull faster, leaving jagged cuts instead of smooth ones.
Optimist You: “It’s just a quick trim—what’s the harm?”
Grumpy You: “Ugh, fine—but remember whose hands will pay for skipping this step.”
How to Master Your Clipper Cleaning Routine
Ready to show those clippers some love? Here’s a foolproof plan:
Step 1: Gather Supplies
You’ll need rubbing alcohol (at least 70%), a small brush (like an old toothbrush), cotton swabs, and soft cloths. Optional bonus points for grabbing antibacterial wipes!
Step 2: Remove Gunk
Use the brush to sweep away any visible debris trapped near the blades. For tough spots, dip cotton swabs in alcohol and scrub gently—it’s almost therapeutic once you get started.
Step 3: Disinfect
Dunk the entire business end of the clippers into rubbing alcohol for at least two minutes. No soaking bowl? Dab generously with an alcohol-soaked cloth. Bonus: Alcohol evaporates quickly, so drying time is minimal.
(Don’t) Step 4: Skip Rinsing Entirely
Avoid rinsing with water unless explicitly stated by the manufacturer—it can lead to rust, especially on cheaper models. Instead, wipe down thoroughly with a dry cloth before storing.
Step 5: Sharpen Blades (Optional)
If your clippers aren’t slicing as smoothly anymore, invest in a blade sharpener or replaceable parts. A sharper edge means cleaner cuts—and happier cuticles.
Top Tips for Maintaining Clipper Hygiene
- Never Share Without Sanitizing: Sure, helping a friend looks kind, but shared clippers = shared germs. Always sanitize pre/post-use when sharing.
- Store Properly: Keep clippers in cases or pouches to prevent dust accumulation. Bonus if there’s silica gel inside to absorb moisture.
- Upgrade When Needed: Stop clinging to rusty relics—sometimes it’s cheaper (and safer) to upgrade than endlessly fix.
- Weekly Deep Clean: If you use clippers daily, commit to weekly deep cleans. Consistency beats last-minute panic-cleans.
- Test Alcohol Strength: Lower concentrations may not kill all germs. Stick to 70%+ for maximum effectiveness.
Real-Life Battles Against Dirty Clippers
Remember the time @ManiMasterPro went viral for her horror story of finding mold inside her salon-grade clippers? Yep, *professional* clippers aren’t immune either. Her solution? A biweekly soak-and-brush ritual, complete with TikTok tutorials that racked up millions of views.
Another cautionary tale involves Sarah K., who found herself battling stubborn nail fungus despite regular treatments. After weeks of frustration, she discovered the culprit: her beloved travel-sized clippers hadn’t been cleaned since…well, ever. Lesson learned.
FAQs About Clipper Hygiene
Q: How often should I clean my nail clippers?
A: At minimum, after every use. If you’re trimming multiple people’s nails, sanitize between users too.
Q: Can I boil my nail clippers to disinfect them?
A: Unless specified as heat-safe, boiling risks warping metal components. Stick to rubbing alcohol or sanitizers designed for metal instruments.
Q: Are expensive clippers worth it?
A: Quality materials resist corrosion better, making pricey options easier to maintain over time. Still, good hygiene practices matter most regardless of price.
Q: What happens if I skip cleaning altogether?
A: Aside from potential infections, residue buildup dulls blades faster—which means rougher cuts and unhappy fingers.
Conclusion
So, are you ready to give your clippers the spa treatment they deserve? Regular clipper hygiene isn’t glamorous, but neither are infected fingertips or ruined manicures. From understanding why cleanliness counts to mastering a tried-and-true cleaning routine, we’ve covered the essentials.
Remember: Prevention is always easier than cure. And while you’re here, why not bookmark this page for future reference? After all, keeping your nails in peak condition starts with caring for the tools you wield. Now go forth, armed with knowledge—and spotless clippers.
Like a Tamagotchi, your SEO needs daily care.