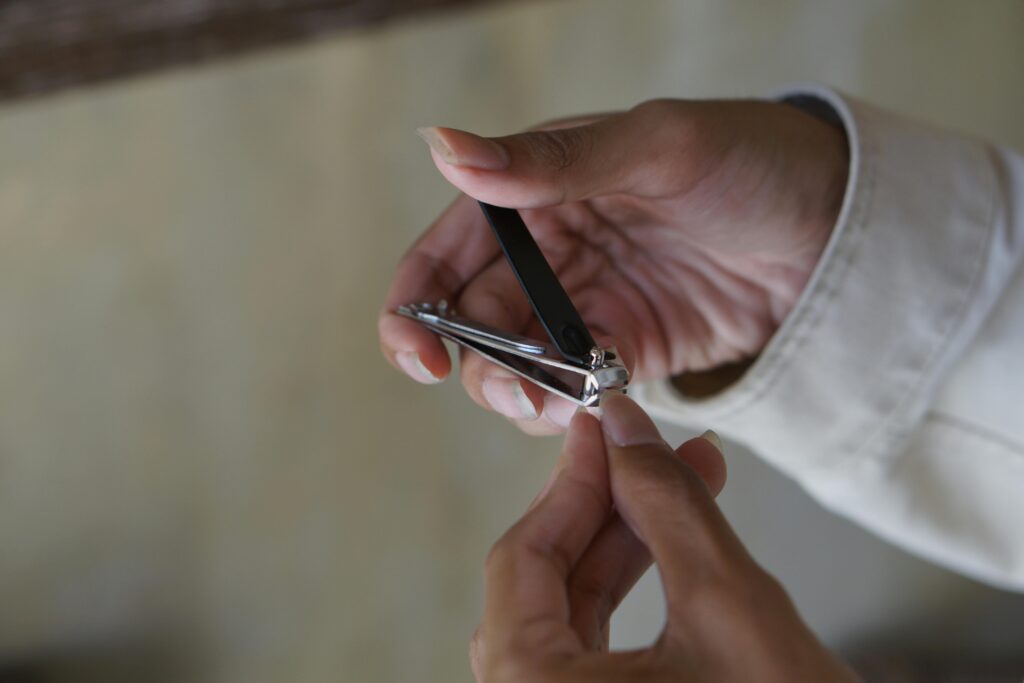
“Have you ever tried to trim your nails only to find your trusty clippers aren’t cutting it anymore? Yeah, me too. One awkward snip later, I realized my go-to beauty tool was kaput.”
If you’re nodding along, you’re in the right place. This post will guide you through everything about clipper repair, from diagnosing common issues to restoring them back to their gleaming glory. Let’s dive into how you can avoid unnecessary replacements and keep those nail tools sharp!
Table of Contents
- Why Clipper Repair Matters
- Step-by-Step Guide to Nail Clipper Repair
- Tips for Maintaining Your Nail Clippers
- Real-Life Nail Care Success Stories
- Frequently Asked Questions (FAQs)
Key Takeaways
- Nail clipper repair is simpler than you think—all it takes are basic tools and some TLC.
- Regular maintenance prevents costly replacements and extends the life of your tools.
- Avoid these mistakes: using dull clippers, not cleaning after use, and ignoring rust signs.
Why Clipper Repair Matters
Let’s face it—nail care is an essential part of any skincare routine. But have you ever thought about what happens when your nail clippers stop working properly? Without proper functioning tools, your manicure game could suffer big time.
I once made the rookie mistake of ignoring a slightly bent blade because “it still kinda worked.” Long story short, I ended up chipping two nails before admitting defeat. Ouch. The good news? With a little know-how, most problems can be fixed without breaking the bank.
By learning clipper repair techniques, you’ll save both money and frustration while keeping your toolkit in top shape.
Step-by-Step Guide to Nail Clipper Repair
What You Need:
- A small screwdriver set
- Fine-grit sandpaper or metal file
- WD-40 or similar lubricant spray
Step 1: Disassemble the Clippers
Optimist You: “Piece of cake, right?”
Grumpy You: “If by ‘cake,’ you mean fiddling with tiny screws that vanish on contact.”
Carefully unscrew the handle to expose the blades. Be gentle—losing parts here isn’t ideal.
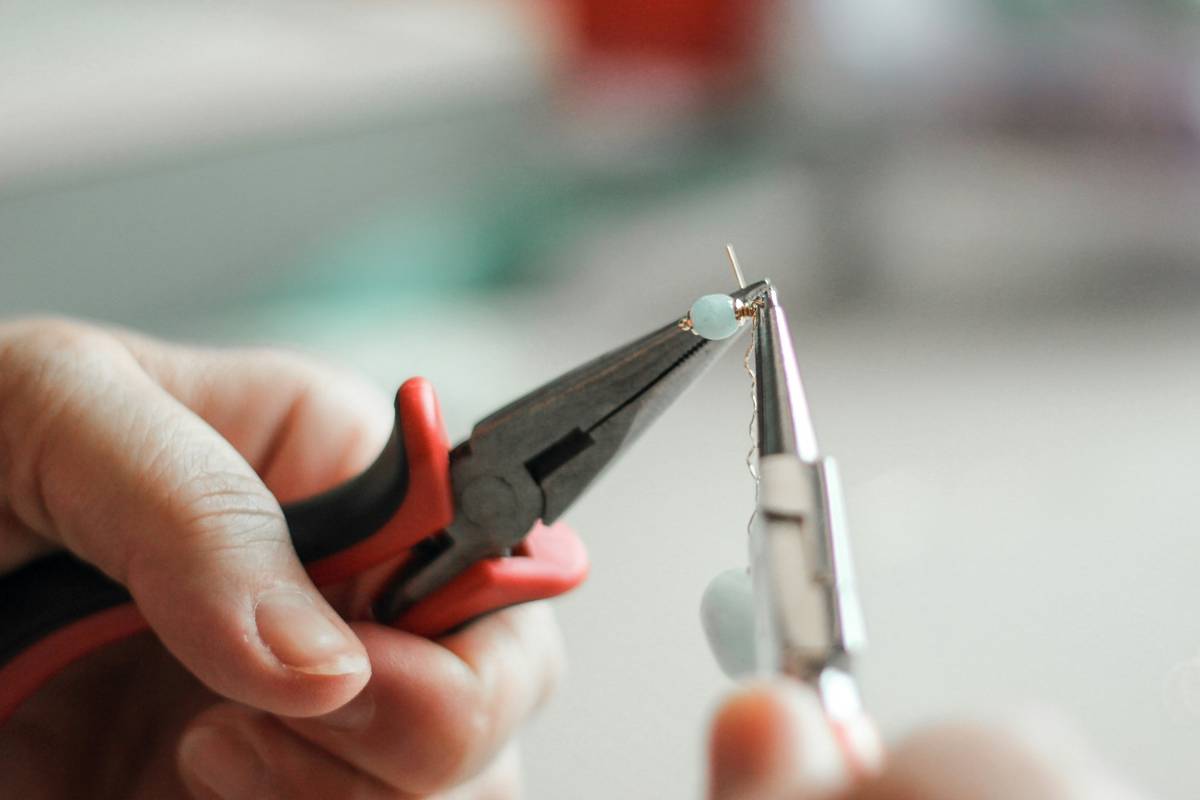
Step 2: Sharpen the Blades
Using fine-grit sandpaper, lightly sharpen the cutting edge of each blade. Move the paper in one direction only to maintain smoothness.
Step 3: Remove Rust or Corrosion
Rust ruins even the best clippers. Soak affected areas in vinegar for 10 minutes, then scrub gently with a toothbrush. Rinse thoroughly afterward.
Step 4: Lubricate Moving Parts
Apply a drop of WD-40 between the blade joints and wipe away excess. Trust me, this step makes all the difference.
Step 5: Reassemble and Test
Screw everything back together and test your handiwork. Voila—you now have fully functional clippers!
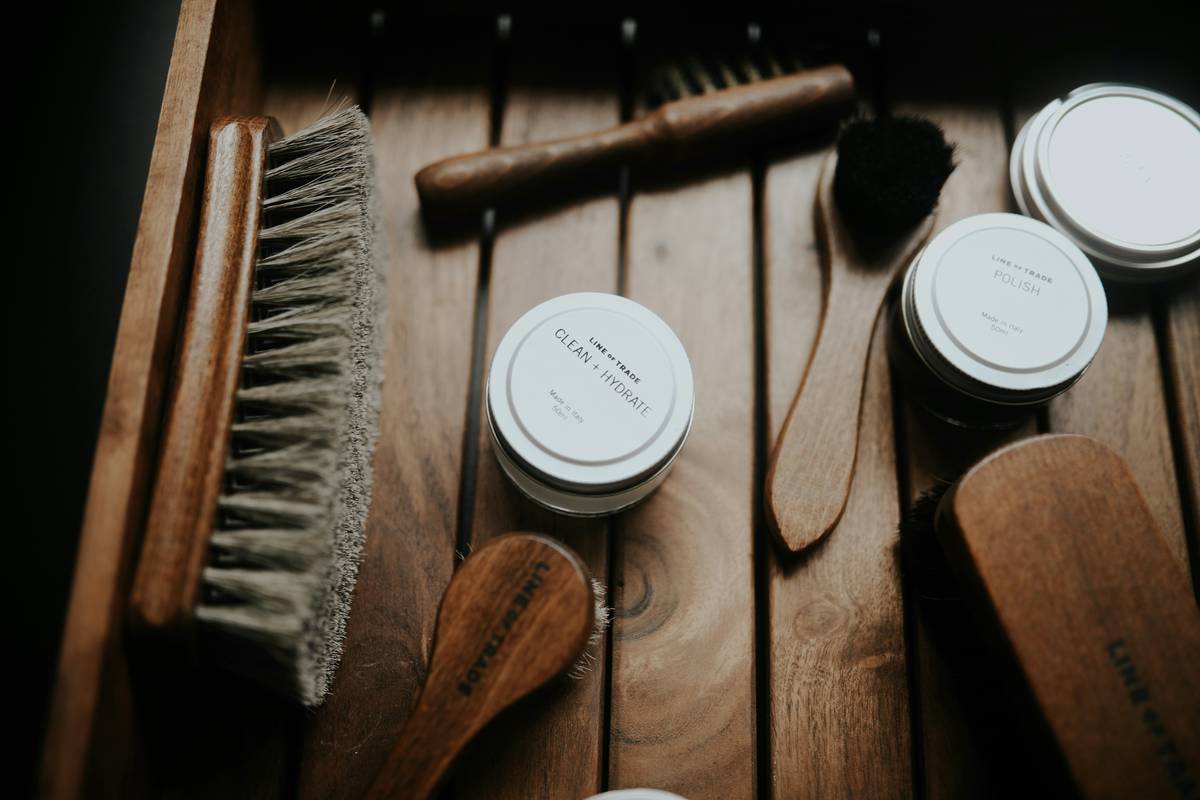
Tips for Maintaining Your Nail Clippers
To minimize future repairs, follow these pro tips:
- Clean After Every Use: Wipe down your clippers with alcohol wipes to prevent buildup.
- Store Properly: Keep them in a dry case—not damp drawers.
- Sharpen Regularly: A quick touch-up every few months keeps performance optimal.
The Terrible Tip Disclaimer
Warning: Some tutorials suggest filing down rusty spots with steel wool. Bad idea. It leaves microscopic scratches where bacteria thrive. Skip this method unless you hate your cuticles.
Real-Life Nail Care Success Stories
Check out Sarah from NYC, whose decade-old clippers were revived thanks to simple clipper repair hacks. She saved over $50 annually just by taking better care of her tools.
Another success story comes from Mark, a professional nail artist who swears by his bi-monthly sharpening routine. His clients rave about clean cuts and zero snags during appointments.
Frequently Asked Questions (FAQs)
How often should I service my nail clippers?
Every 2–3 months if used regularly; otherwise, twice a year.
Can I fix broken hinges?
Possibly, but replacing screws might be easier. Check hardware stores for compatible sizes.
Is it worth repairing cheap clippers?
Not always. Cheap models may lack durable materials needed for effective fixes.
Conclusion
Repairing your nail clippers isn’t rocket science—it’s more like giving your favorite pair of scissors a spa day. From disassembly to reassembly, we’ve covered the basics and sprinkled in actionable advice for good measure.
So next time your clippers falter, don’t toss them out immediately. Instead, try the steps outlined above. Remember: Like a Tamagotchi, your tools need love and attention to thrive.
And now, as promised—a haiku:
Blade meets stubborn nail,
Rust fades, shine returns again,
Manicures rejoice.