Ever tried cutting your nails without oil and ended up with jagged edges or uneven breaks? Yeah, we’ve been there too. Ow.
If you’re ready to elevate your nail care routine from “meh” to “marvelous,” stick around. This guide dives into the wonders of using a clipper with oil—because yes, it’s a game-changer for manicure enthusiasts and pros alike. We’ll explore why this tool is a must-have, how to use it effectively, insider tips, and even one terrible tip you should never follow.
You’ll learn:
- Why oil matters in nail clipping
- The ultimate step-by-step guide to mastering the art of clippers with oil
- Expert tips to keep your nails healthy and smooth
- Real examples of people who nailed (pun intended) their routines
Table of Contents
- Key Takeaways
- Problem/Background
- Step-by-Step Guide to Using a Clipper with Oil
- Tips and Best Practices
- Examples and Case Studies
- FAQs
- Conclusion
Key Takeaways
- A clipper with oil ensures smoother, safer cuts while reducing friction.
- Using high-quality tools makes all the difference in nail health.
- Regular maintenance keeps both your nails and tools performing at their best.
- Oil enhances grip and prevents rust on metal clippers.
Problem/Background
Nail care isn’t just about aesthetics—it’s self-care packaged in tiny details. But let’s be real; nothing ruins a spa day like an awkward snip that leaves your nails looking worse than before. And if you think dry-cutting is harmless, lemme hit ya with some truth bombs:
“Dry-cutting weakens nails over time by causing micro-tears and splits. Adding oil reduces friction, making each cut cleaner and healthier.”
Optimistic You: “I’ll just buy any fancy clipper!”
Grumpy Me: “Not so fast. If it doesn’t come with or support oil usage, prepare for disappointment.”
Now, imagine having a clipper specifically designed to work seamlessly with oil—a true lifesaver. Let me share a personal fail here: Once, I lent my expensive clippers sans instructions (read: no oil). They came back dull, rusty, and basically useless. Not cool, friend—not cool.
Step-by-Step Guide to Using a Clipper with Oil
Step 1: Choose the Right Clipper
Not all clippers are created equal. Look for stainless steel models compatible with oils. Trust me, cheap plastic ones won’t hold up—not even chef’s kiss-worthy.
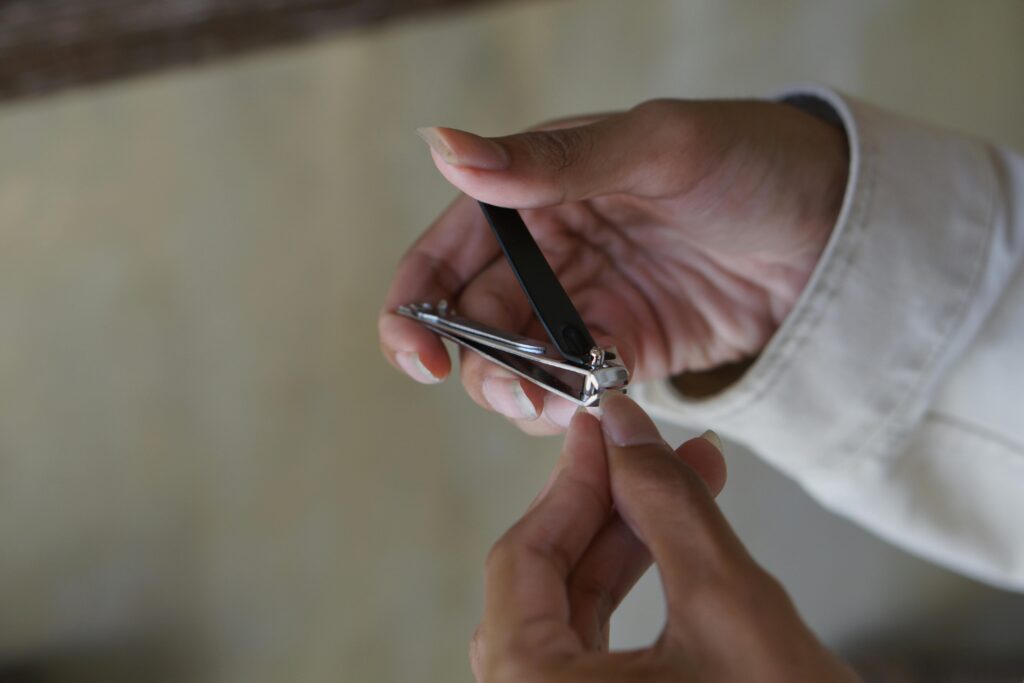
Step 2: Apply Oil Directly Onto Nails
Dab a small amount of cuticle or nail oil onto your nails first. Why? It creates a protective layer between the blade and your skin/nails, ensuring precision.
Step 3: Lubricate Your Clippers
Add a drop of oil directly onto the blades. Work them back and forth gently to spread it evenly. *Grumpy Side Note:* Skipping this step will make your clippers squeak louder than your laptop fan after hours of binge-watching Netflix.
Step 4: Start Snipping Strategically
Begin at one side of the nail, working toward the center. Repeat on the other side until you achieve the desired shape. Go slow—you’re aiming for accuracy, not record-breaking speed.
Step 5: Clean Up and Store Properly
Wipe excess oil off the tool once done. Store it in a protective case away from moisture. Bonus pro tip: A little silicone pouch does wonders for portability!
Tips and Best Practices
- Always sanitize. Wipe down clippers before and after use to avoid infections.
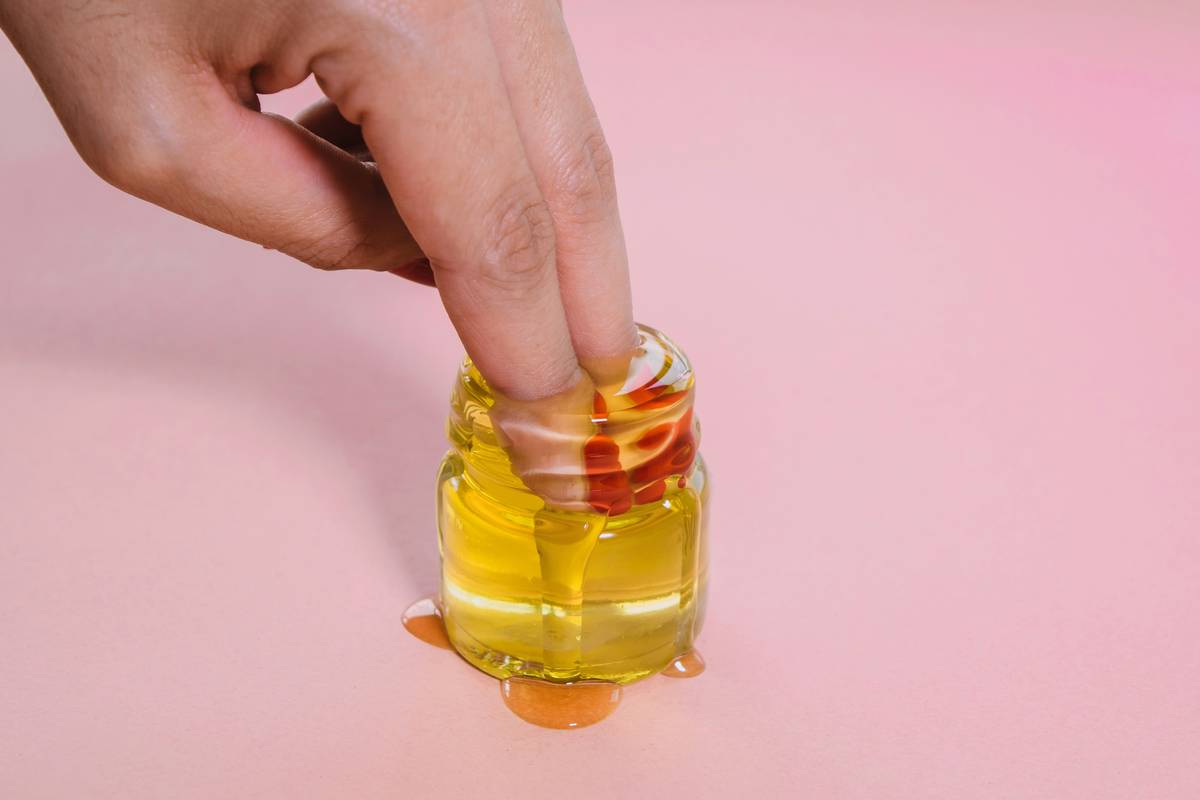
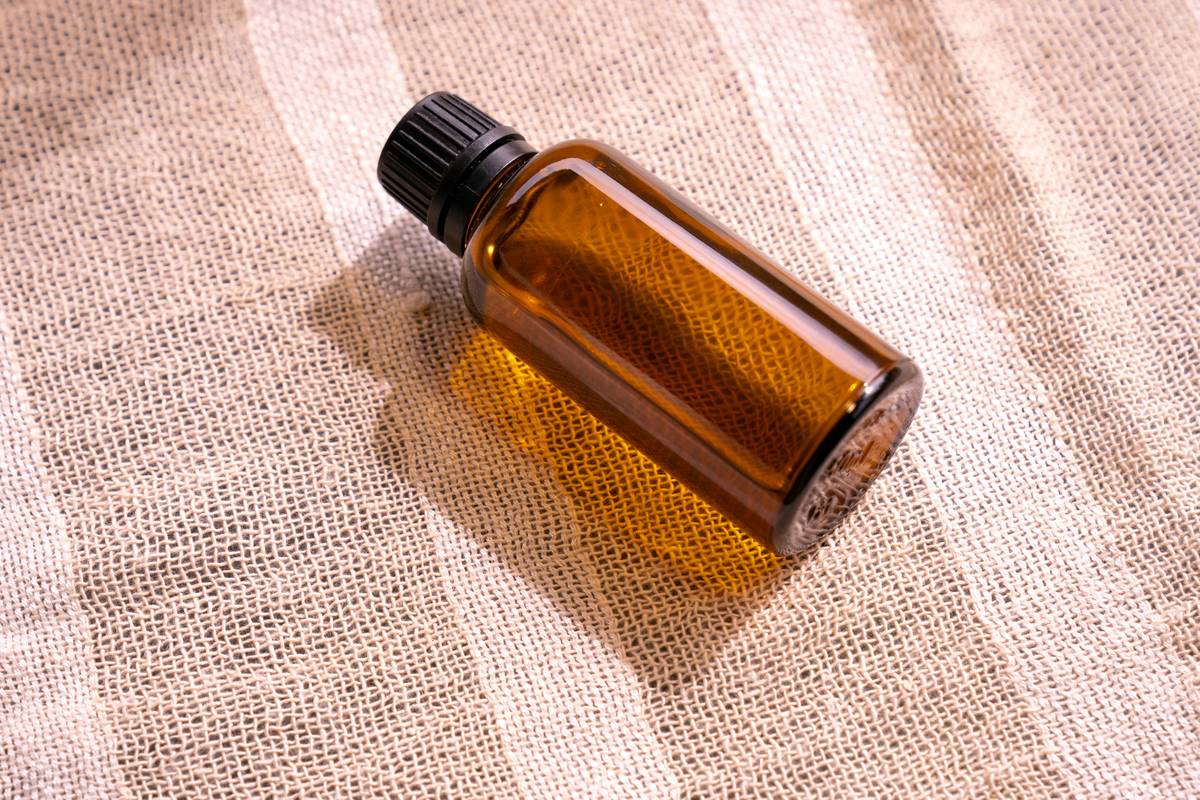
- Pick quality lubricants. Opt for mineral-based oils instead of greasy alternatives.
- Troubleshooting noise? Sounds like grinding? Check if debris clogs the mechanism.
- Terrible Tip Alert: Never submerge clippers in water to clean them post-oiling—the electrical gods will cry.
Examples and Case Studies
Meet Sarah, a busy graphic designer obsessed with perfecting her almond-shaped nails. She switched to a clipper with oil system three months ago after years of frustration with split nails. Today? Her Instagram followers can’t stop asking for product recommendations. (Chef’s kiss moment achieved!)
Another success story comes from Joe, a construction worker who admits he didn’t give two hoots about his hands… until his wife gifted him a kit complete with clippers and oil. Fast-forward six weeks later, and guess what? His colleagues now ask him where he gets his manicures done!
FAQs
Q: How often should I oil my nail clippers?
A: Every single session. Think of it as hydrating your tools—they need TLC too.
Q: Can I use cooking oil?
A: Absolutely not. Stick to products formulated explicitly for grooming tools. Olive oil might smell great but trust us—it attracts dust faster than a magnet.
Q: Do professional salons use clippers with oil?
A: Many top-tier artists swear by these systems due to their efficiency and cleanliness benefits.
Conclusion
Giving your nails the love they deserve starts with investing in proper tools—and nothing beats a clipper with oil combo when it comes to precision and longevity. By following our guide, you’ll banish jagged edges forever and embrace salon-worthy results every time.
Remember: Consistency is key. Keep those babies sharp, shiny, and well-oiled. Cheers to flawless fingertips ahead!
And now, because nostalgia rocks…
Haiku Time:
Nails click-clack grow strong,
Oil whispers softly—snip!
Beauty blooms within.