Ever spent a fortune at the salon only to have your nails chip the next day? Yeah, we’ve all been there. Welcome to the world of at-home nail care, where you can achieve salon-quality results without breaking the bank.
In this post, I’ll dive into the art and science of at-home nail care, from choosing the right tools (like nail clippers) to mastering the perfect manicure. You’ll learn how to set up your at-home nail station, pick the best products, and even troubleshoot common issues. Let’s get started!
Table of Contents
- Why At-Home Nail Care Matters
- Step-by-Step Guide to Perfect At-Home Nail Care
- Top Tips for Maintaining Healthy Nails
- Real-Life Success Stories and Case Studies
- FAQs: Your Burning Questions Answered
Key Takeaways
- At-home nail care is cost-effective and convenient.
- Choosing the right tools, like high-quality nail clippers, is crucial.
- Consistent maintenance is key to healthy, beautiful nails.
- Personalized care routines can make a big difference.
Why At-Home Nail Care Matters
Let’s face it—visiting the salon every two weeks can be a real drain on both your wallet and your schedule. Enter at-home nail care, your ticket to fabulous nails without the hassle.
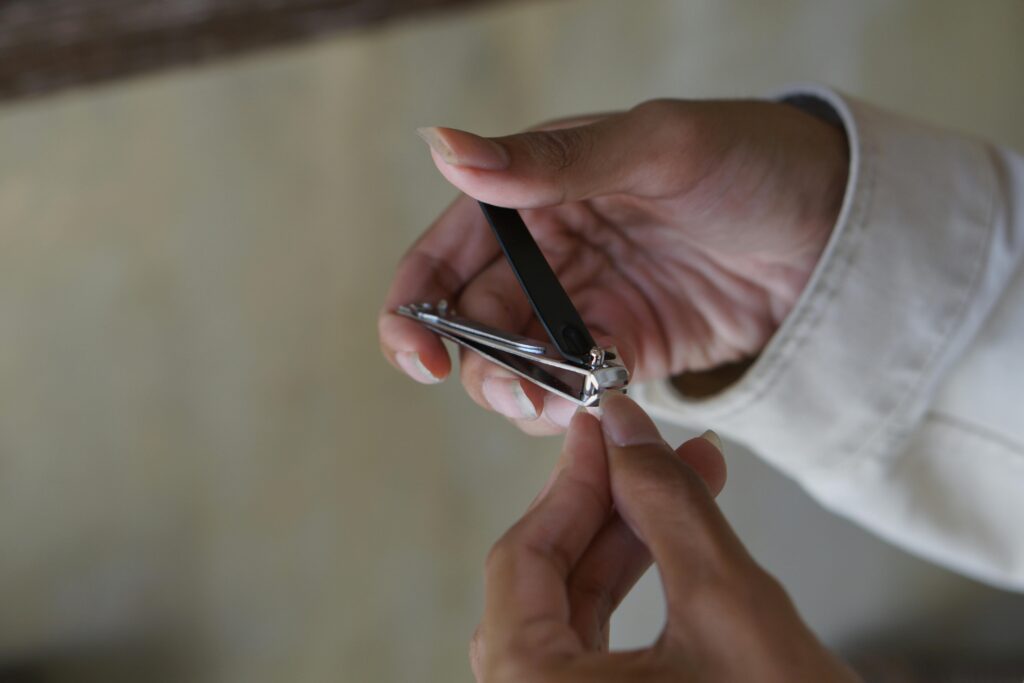
Nail clippers, for example, are a small but powerful tool in your arsenal. They help you maintain the shape and health of your nails, preventing splits and snags. But more on that later…
Step-by-Step Guide to Perfect At-Home Nail Care
Optimist You: “Follow these steps, and you’ll have salon-quality nails in no time!”
Grumpy You: “Ugh, fine—but only if coffee’s involved.”
Step 1: Gather Your Tools
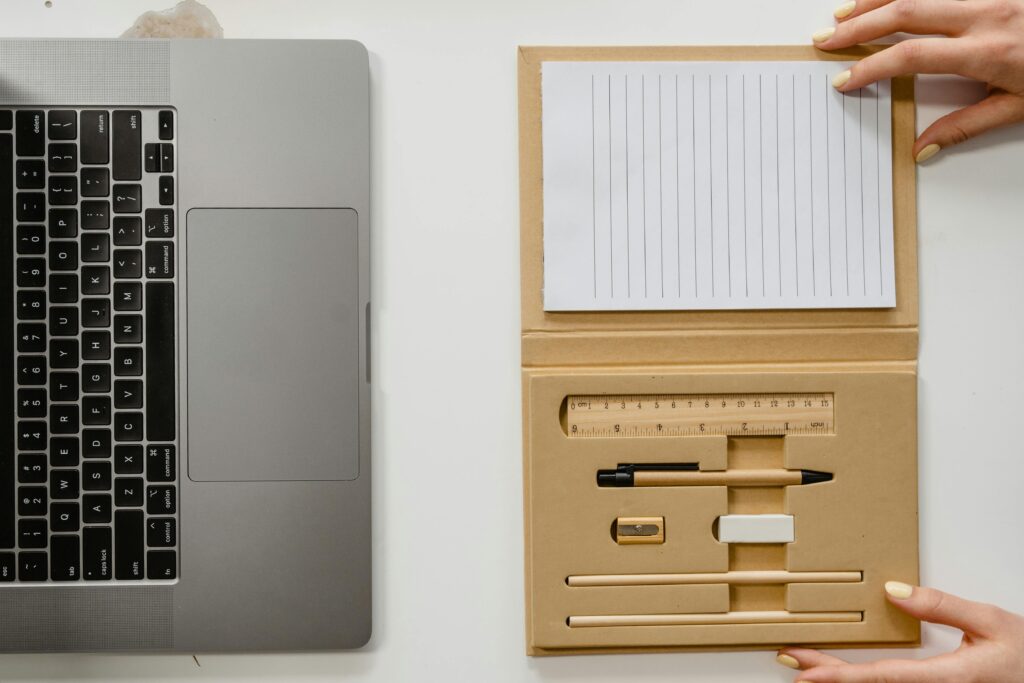
First things first, you need the right tools. Here’s a quick checklist:
- Nail clippers
- Nail file
- Cuticle pusher
- Buffer
- Base coat and top coat
- Polish of your choice
Step 2: Prepare Your Nails
- Clean and dry your nails. Start with a clean slate by washing your hands and drying them thoroughly.
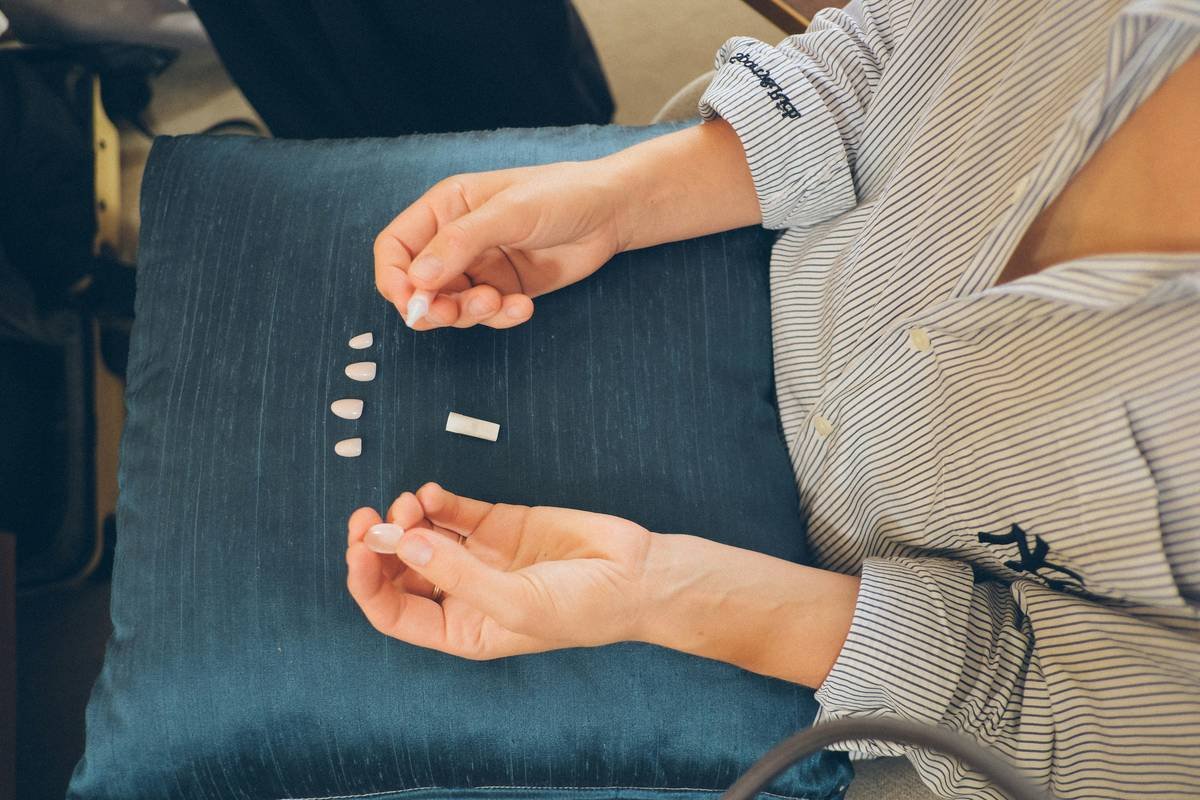
- Clip and file your nails. Use your nail clippers to trim any excess length and shape your nails. File them to smooth out any rough edges.
- Push back your cuticles. Gently push back your cuticles using a cuticle pusher. This helps prep your nails for polish and prevents ragged edges.
Step 3: Apply Base Coat and Polish
- Apply a base coat. This creates a barrier between your nails and the polish, helping to prevent staining and chipping.
- Apply your polish. Choose your favorite color and apply it in thin, even layers. Allow each layer to dry completely before adding the next one.
- Seal with a top coat. Finish off your mani with a top coat to add shine and protect your polish.
Top Tips for Maintaining Healthy Nails
Optimist You: “These tips will keep your nails looking their best!”
Grumpy You: “Yeah, yeah, just make sure you don’t forget to moisturize. Dry cuticles are the worst.”
- Keep your tools clean. Regularly clean and disinfect your nail clippers and other tools to prevent infections.
- Moisturize your cuticles. Apply cuticle oil or cream daily to keep your cuticles soft and healthy. Trust me, it makes a huge difference.
- Don’t over-file. Filing your nails too much can weaken them. Stick to gentle, light filing sessions.
- Treat yourself to a hand mask. A weekly hand mask can hydrate your skin and keep your nails looking their best. It’s like a spa day for your hands!
Terrible Tip: Don’t Bother With a Base Coat
Some people might tell you to skip the base coat to save time. But trust me, it’s a mistake. The base coat is like the foundation of a house—it provides a stable base and protects your nails from staining and chipping. Always use a base coat, no exceptions.
Real-Life Success Stories and Case Studies
Optimist You: “Check out these success stories—they’ll inspire you to take great care of your nails!”
Grumpy You: “Yeah, but don’t get too excited. It’s just nails, not brain surgery.”
Case Study 1: Sarah’s Journey to Perfect Nails
Sarah used to spend a fortune at the salon every month. One day, she decided to take matters into her own hands (literally). She invested in a high-quality nail clipper, filed her nails regularly, and applied a base coat and top coat. Within a few weeks, her nails looked better than ever, and she saved a ton of money.
Case Study 2: Mike’s Men’s Manscaped Nails
Mike, a busy professional, never paid much attention to his nails until he started getting compliments on his well-groomed hands. He now keeps a simple nail care routine, including regular clipping and filing. His nails are always neat and tidy, and he feels more put-together.
FAQs: Your Burning Questions Answered
Optimist You: “Your questions, answered!”
Grumpy You: “Yeah, yeah, let’s get through this part quickly.”
Q: How often should I trim my nails?
A: It depends on your preference and the rate of growth, but generally, trimming your nails once a week is a good rule of thumb.
Q: Can I use regular scissors instead of nail clippers?
A: While you can, it’s not recommended. Regular scissors can cause uneven cuts and damage your nails. Nail clippers are specifically designed for the job and are much safer and more effective.
Q: What’s the best way to remove polish without damaging my nails?
A: Use a nail polish remover that contains acetone. Acetone is more effective at removing polish, but it can be harsh on your nails. Apply a cuticle oil afterward to rehydrate your nails.
Rant Section: The Pet Peeve of Nail Clippings Everywhere
One of the most frustrating things about at-home nail care is the aftermath—nail clippings scattered everywhere. It’s like a tiny, annoying confetti party on your floor. To avoid this, try clipping your nails over a piece of paper or a small bowl. This way, you can easily dispose of the clippings without leaving a mess. Voilà!
Conclusion
At-home nail care is a game-changer. With the right tools, a bit of patience, and some love, you can achieve salon-quality nails without leaving your home. Remember to keep your tools clean, moisturize your cuticles, and never skip the base coat. Happy clipping, and here’s to healthier, more beautiful nails!
Like a Tamagotchi, your nails need daily care. 🌟