“Split nails again?! I just spent an hour painting a floral masterpiece, only for it to crack at the base.” Sound familiar?
If you’re here, chances are your nail clippers and split nails aren’t exactly BFFs. Today, we’ll unravel why this happens and how to prevent it—while still rocking picture-perfect nails. You’ll learn about causes, fixes, and pro tips that even your manicurist might not know.
Table of Contents
- Key Takeaways
- What Causes Split Nails?
- How to Repair Split Nails
- Preventative Tips for Healthy Nails
- Real Stories: From Disaster to Masterpiece
- FAQs About Split Nails & Nail Clippers
Key Takeaways
- Split nails often result from improper trimming techniques or excessive moisture exposure.
- Invest in high-quality nail clippers designed specifically for precision cuts.
- Moisturize and strengthen weak nails with nourishing oils like jojoba or olive oil.
- Avoid using nails as tools (hello, package-opening habit).
What Causes Split Nails?
Optimist You: “It’s probably just bad luck.”
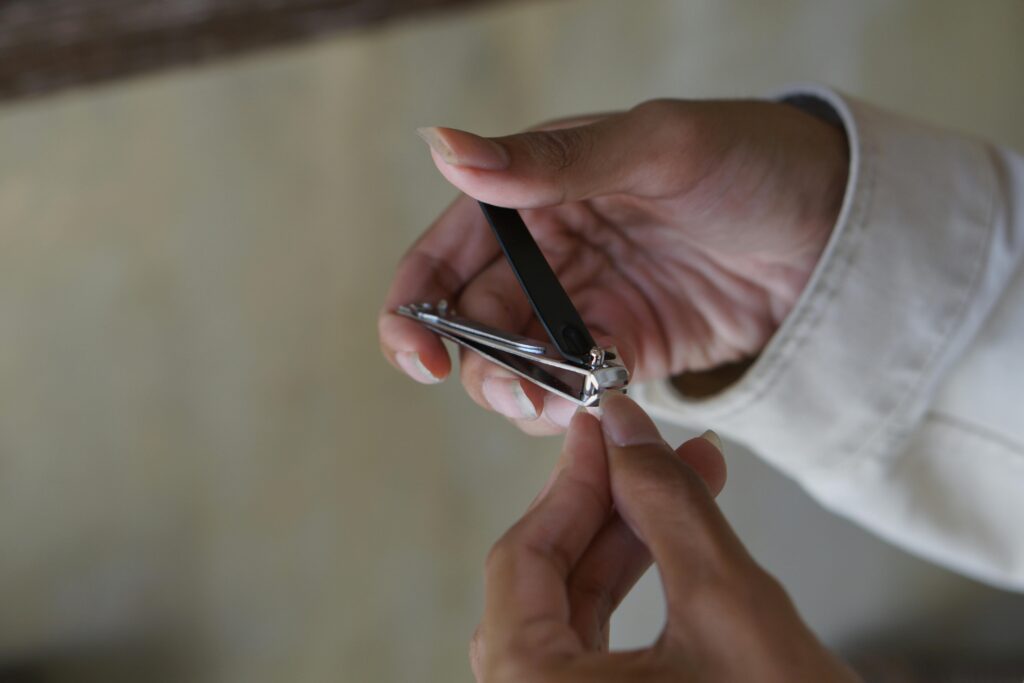
Grumpy You: “Nope, it’s your overenthusiastic filing technique combined with cheap clippers.”
Here’s the tea: split nails happen when the layers of keratin separate due to stress, dehydration, or clumsy cutting habits. Let me confess something—I once tried to DIY my acrylic removal with dollar-store nail clippers. The result? A jagged mess that took weeks to heal. If you’ve ever had brittle nails snap under pressure, trust me—you’re not alone.
How to Repair Split Nails
Step 1: Assess the Damage
Grab a magnifying mirror and inspect the split closely. Is it near the tip or down the side? Knowing the location helps determine the repair approach.
Step 2: File Gently
Use a fine-grit emery board to smooth out any rough edges around the split. Avoid sawing motions; think light strokes instead. Picture brushing hair—you want gentle precision.
Step 3: Apply Temporary Bonding
Dab on clear nail glue or a teabag patch (yes, really). This holds the layers together until new growth catches up. It’s basically duct tape for your digits.
Step 4: Moisturize Daily
Nourish cuticles nightly with vitamin E oil or shea butter. #SelfCareGoals
Preventative Tips for Healthy Nails
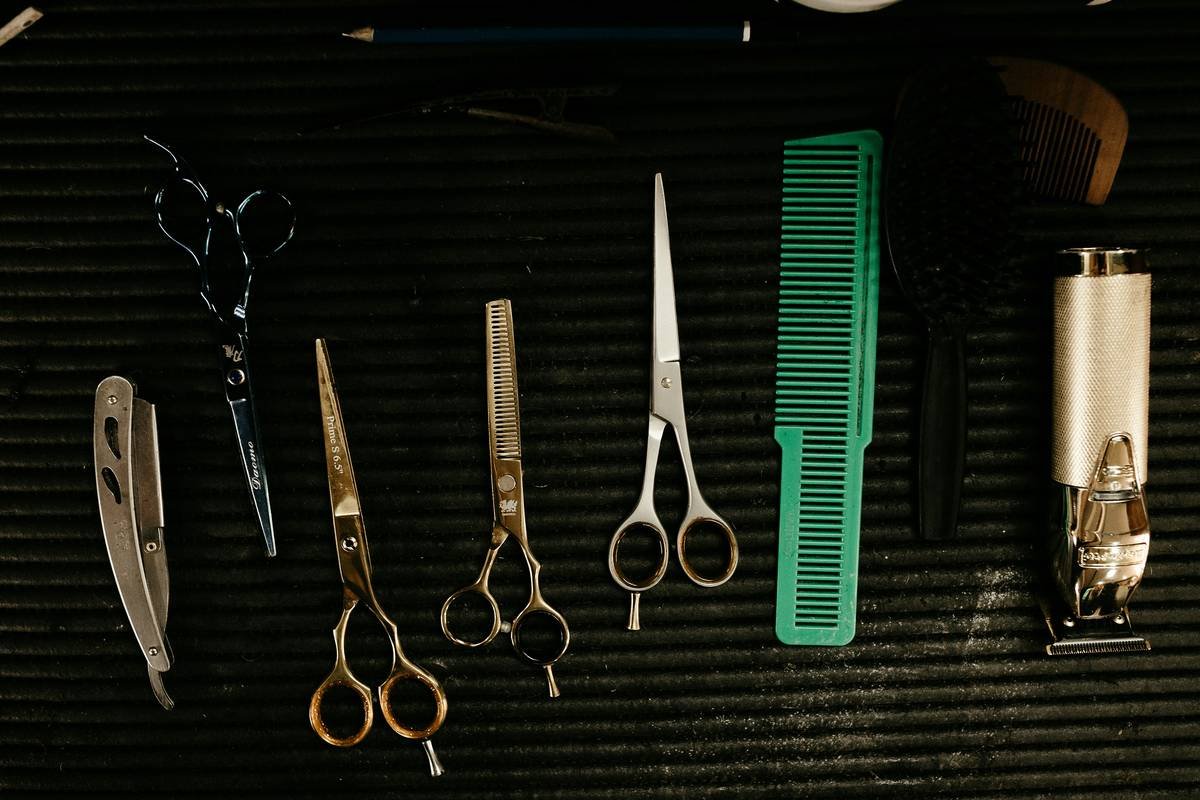
- Upgrade Your Clippers: Cheap ones can crush rather than cleanly cut. Opt for stainless steel models with sharp blades.
- Trim Regularly: Shorter nails mean fewer opportunities for splits.
- Limit Water Exposure: Prolonged soaking weakens nails. Wear gloves while washing dishes!
- Avoid This Terrible Tip: Don’t buff aggressively to make nails shiny—it thins them out. Bad idea alert!
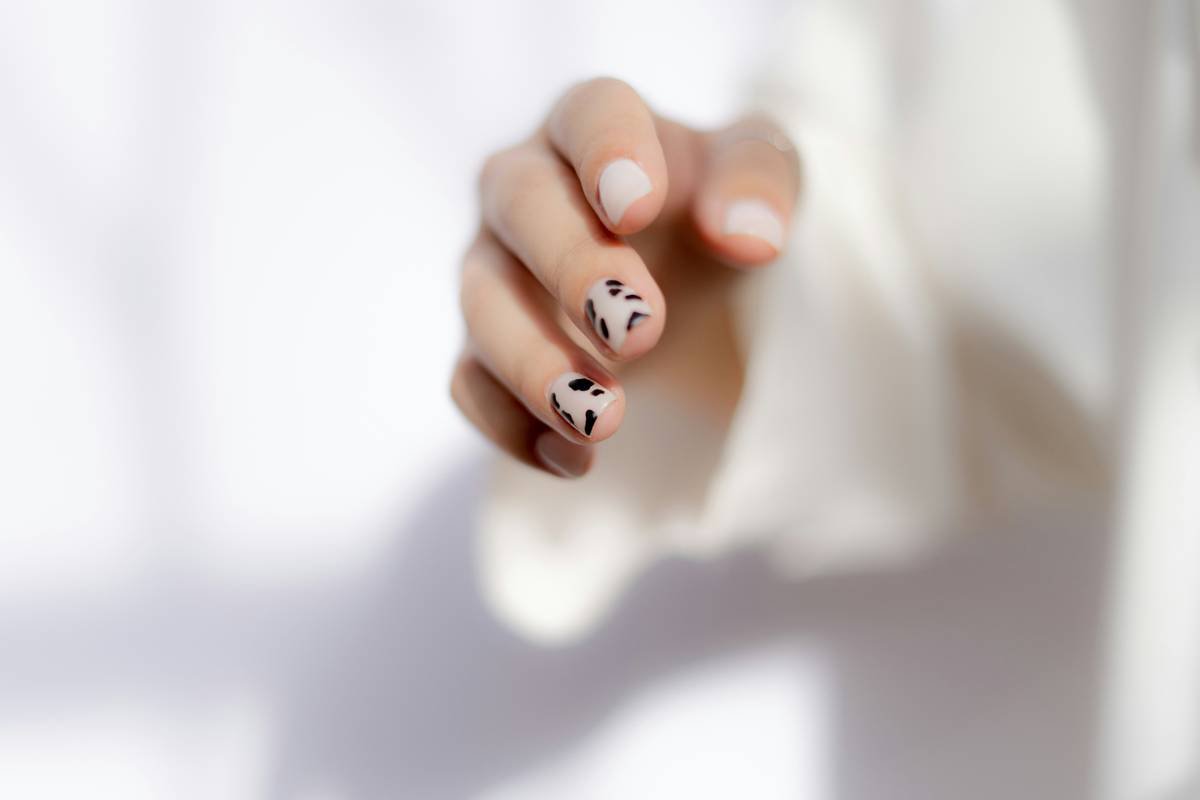
Real Stories: From Disaster to Masterpiece
Jessica S., a nail art enthusiast, shares her journey: “I used to dread looking at my hands because my nails would constantly peel after applying gel polish. Once I switched to salon-grade clippers and started moisturizing religiously, everything changed. Now I create intricate designs without worrying about breakage!”
FAQs About Split Nails & Nail Clippers
Q: Why do my nails keep splitting even though I use clippers regularly?
A: Frequency isn’t enough—ensure you’re using quality clippers and keeping nails hydrated.
Q: Can diet affect nail health?
A: Absolutely! Lack of biotin, iron, or omega-3 fatty acids may cause brittleness.
Q: How often should I replace my nail clippers?
A: Every 6–12 months, depending on wear and tear.
Conclusion
There you have it—a complete guide to conquering split nails and upgrading your nail care routine. Remember, prevention beats cure every time. Invest in better tools, prioritize hydration, and handle your nails like the delicate masterpieces they are.
Like a Tamagotchi, your nails need daily love to thrive. Catch you on the flip side!